Catch a Monster Endless Spire Guide: Floors, Teams & Tower Gems (2026)
Complete Endless Spire guide for Catch a Monster. Best teams for every floor range, the Floor 104 wall, daily Tower Gems, re-entry trick, and Spire Shop priorities.

Catch a Monster Endless Spire Guide (2026)
The Endless Spire is the most important endgame system in Catch a Monster. It is your main source of Tower Gems — the currency used to buy Arcane Spark Stones, Potential Serums, and Red Rift portals. This guide covers everything from early floors to the current difficulty walls in February 2026.
Endless Spire Basics
Location: Left of the Pet Center on Starter Island. Talk to NPC Echo (Tower Manager) to enter. Reset: The Spire season resets every 10 days. You keep your Tower Gems but lose floor progress. No checkpoints: If you die or exit completely, you restart from Floor 1. Room bosses: Every 10 floors there is a boss room.
Daily Tower Gems Income
You earn approximately 4,800 Tower Gems per day from normal Spire runs.
Re-entry farming trick (bonus gems):
- Clear all enemies on a floor except one
- Exit the Spire with 1 enemy remaining
- Re-enter — you return to that floor
- Kill the last enemy to collect bonus Tower Gems
- Repeat for extra daily income beyond the base cap
Best Teams by Floor Range
Floors 1–50
Team: 3x Mountusk or Glazadon + Flarecrest Key tip: Floors 49–50 bosses deal 200% extra damage to Earth types. If using Mountusk, swap to Glazadon/Flarecrest for Floor 50. Squad Swap trick: If your team wipes on a boss, equip a second team fast — sometimes the boss HP does not reset.
Floors 50–100
Team: Transition to Eclipse Knight A + Undine B + Tidevex Eclipse Knight's shield mechanic dramatically improves survivability Undine's stun lets you interrupt dangerous boss attacks
Floors 100–104 (Current Wall)
Best Team: 2x Eclipse Knight A+10 + Kitsunine A or Undine B Top players (Feb 2026) are reaching Floors 108–110
⚠️ Floor 104 Difficulty Wall
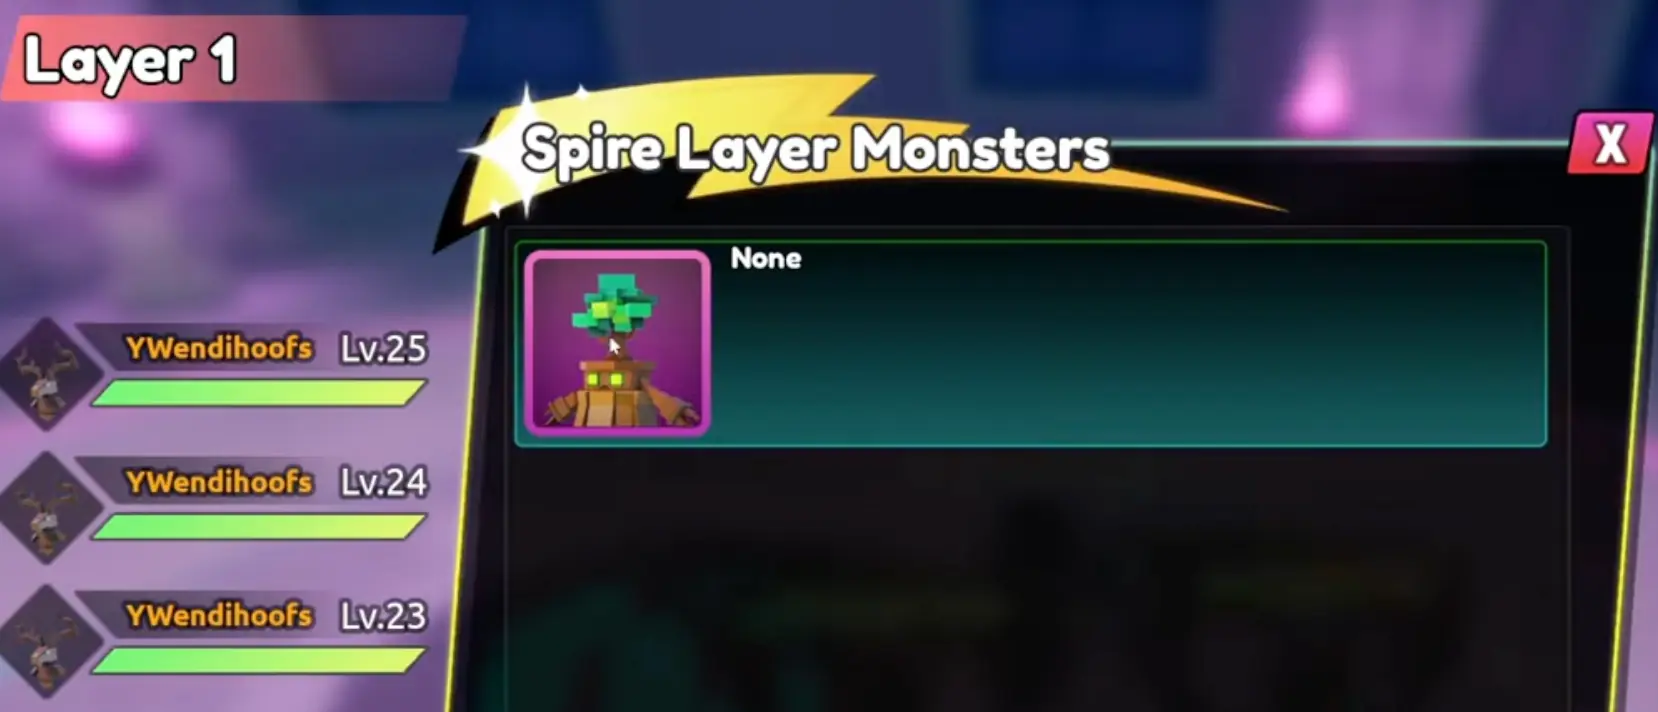
Floor 104 is widely considered the current endgame wall due to a Sprouttusk enemy with no cooldown on its Seed Bomb attack.
The attack fires continuously with no pause between uses This is likely a bug, but as of Feb 2026 it has not been fixed Workaround: Bring maximum stun (Kitsunine + Undine) to interrupt as much as possible. Eclipse Knight shields absorb some of the spam damage.
Spire Shop — What to Buy (Feb 2026 Priorities)
| Item | Cost | Stock | Priority |
|---|---|---|---|
| :--- | :--- | :--- | :--- |
| Arcane Spark Stone | 500 Tower Gems | 32/week | ⭐⭐⭐⭐⭐ Top Priority |
| Red Rift Portal | Cheap | 10/week | ⭐⭐⭐⭐ High |
| Potential Serum | 500 Tower Gems | Very limited | ⭐⭐⭐⭐ High |
| XP Potions | 300 Tower Gems | Available | ⭐⭐⭐ Medium |
| Aquilune pet | 12,000 Tower Gems | 1/week | ⭐⭐ Niche |
Arcane Stone price update: Reduced from 900 → 500 Tower Gems as of February 20, 2026. This significantly improves F2P progression.
Cost of One A-rank Fusion
You need 17 Arcane Spark Stones × 500 gems = 8,500 Tower Gems minimum. At ~4,800 gems/day baseline, that is roughly 2 days of dedicated Spire runs if you skip other purchases.
Floor 50 Boss Counter (Classic)
Why Mountusk Fails at Floor 50
The Floor 50 boss deals 200% extra damage to Earth types. Mountusk (Earth type) gets one-shot.
Solution Teams
Option 1: 3x Glazadon — balanced HP/damage, no Earth penalty Option 2: 3x Flarecrest — glass cannon, kills boss before being hit Option 3: 2x Mountusk + 1x Glazadon (let Glazadon tank the boss)
General Spire Tips
Focus fire small mobs first to reduce incoming damage before boss rooms Always fill all 3 pet slots — a second or third pet can carry after the first dies Log off inside the Spire only if you have reached your target floor for the day Season timing: Plan big purchases around the 10-day reset cycle — gems carry over but weekly shop stock resets independently Private Server Spire: You can run Endless Spire in a private server for less interference
Spire Top Players (Feb 2026 Reference)
Community members have reported reaching Floors 108–110 using:
- 2x Eclipse Knight A+10 (maxed ascension)
- Kitsunine A with Gale Wingblade gear
The leaderboard is visible in-game at the Spire entrance.
For the full Spire Shop item guide, see our Enhancement Guide. For best monsters, check the Tier List.*
Related Articles
Catch a Monster Tier List (February 2026): Best Monsters for Spire & Bosses
The ultimate Catch a Monster tier list updated for February 2026. Eclipse Knight + Undine dominate the meta. Full rankings for Spire, boss farming, and endgame.
Catch a Monster Codes (December 2025) - Free Keys & Ranks
Get the latest active Catch a Monster codes for December 2025. Redeem free Keys, Rank A items, and more. Plus, answers to common questions about Luck and Ranks.
Catch a Monster Holiday Event Guide: Gingerjoy, Keys & Codes (2025)
Complete guide to the Catch a Monster Holiday Event. Learn how to get the OP Gingerjoy, use Keys, redeem new codes, and understand the Pity system bugs.